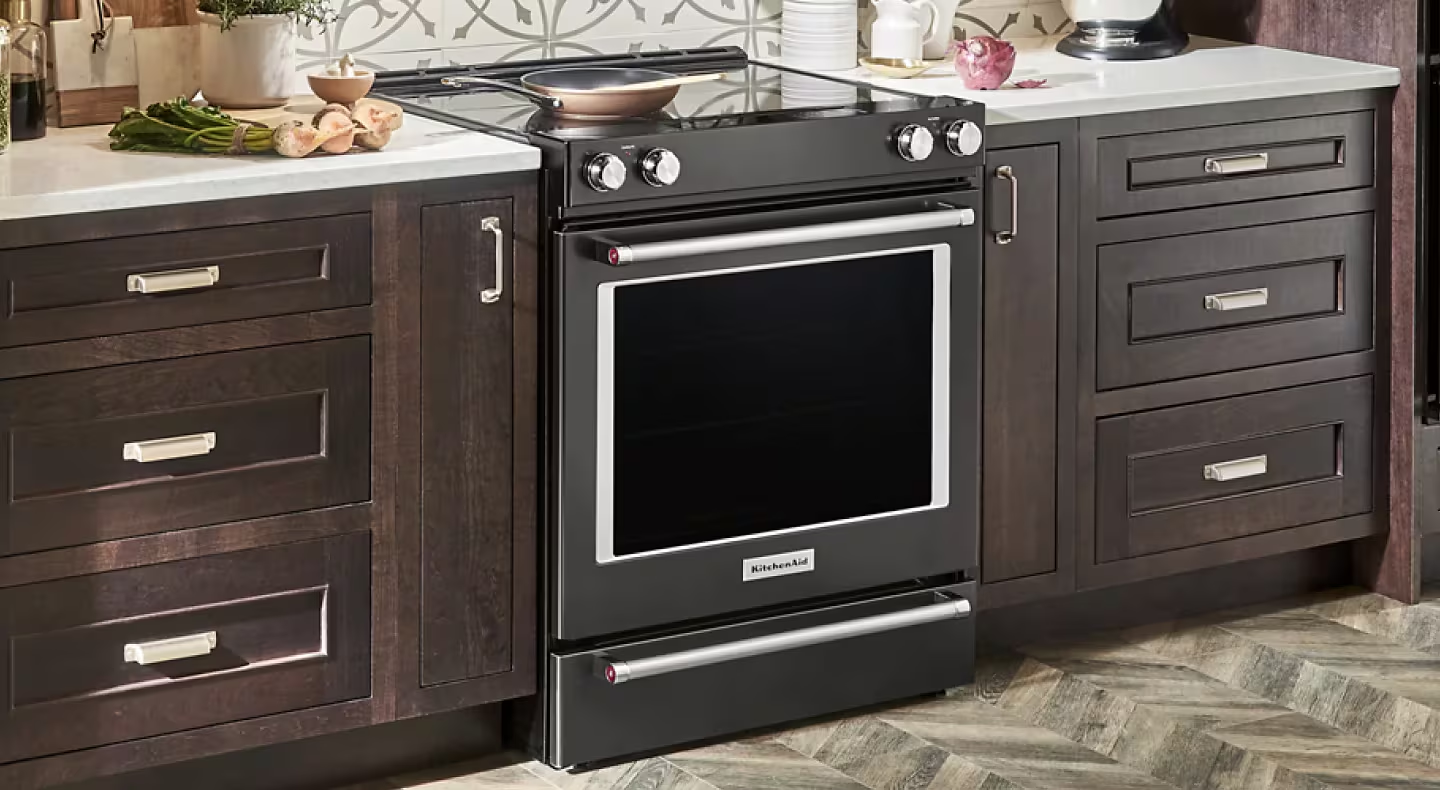
The KitchenAid appliance that abruptly ceases to heat or displays an obscure error message can disrupt an entire night. The good thing is that a majority of these issues are traced back to a handful of parts, and once you are aware of what to look for to identify the issue, it becomes much less complicated than the flashing screen appears to suggest.
This guide will walk you through the most frequently occurring reasons a KitchenAid oven isn’t working correctly and how to interpret errors it gives you, the fixes that are easy to fix yourself, and when it’s the right time to hire an authorized technician.
Start With Safety, Not the Screwdriver
Before you touch anything within the KitchenAid Oven interior, shut off power to the circuit breaker, instead of switching the switch on your wall. Electric ovens are typically powered by a voltage of 240 volts. Some internal components remain powered regardless of whether the oven’s display has been turned off. If you own gas ovens, be aware of which gas shutoff valve is before you work close to the burner or igniter.
If you detect gas, you should immediately stop. The area must be aired, and you should call your gas company or certified technician. It’s not a DIY scenario, no matter the confidence you have in the remainder of the work.
Why Is My KitchenAid Oven Not Heating?
This is the most frequently reported complaint, and the reason will differ depending on whether or not you are using gas or electric models.
Electric ovens typically are traced back to one of the four components:
Bake or broil the element. Check for visible blisters, holes, or an element that doesn’t turn orange when heated. An examination of continuity using a multimeter will confirm the diagnosis. No continuity means that the component is damaged and requires replacement, as these components can’t be fixed.
Temperature sensor. This tiny probe located at the rear of the cavity relays its internal temperatures to the controller board. A reading that is not stable or steady is the most common cause for the oven not heating even a bit, and is the component that is most frequently responsible for an F3 error.
Electronic Oven Control (EOC) board. The board distributes voltage to the KitchenAid Oven elements. If the board is damaged, the part could be in good condition, but it won’t receive power.
The thermal fuse. A safety device that will permanently open the circuit when the KitchenAid Oven is heated to a certain temperature. It’s not resetable and can’t be replaced, but it can be repaired, and if it’s constantly blowing, this is usually a sign of a bigger issue that needs to be addressed by a professional.
Gas ovens typically come back to their ignition mechanism. An igniter with a glow bar that takes longer than 90 seconds to illuminate the flame, or doesn’t shine at all, typically reaches an end point in its lifespan. Direct spark ignitions are more complicated and require an ignition module, as well as dedicated wiring. This is an area that DIY repair becomes incredibly difficult. The majority of homeowners would be better off consulting an professional.
KitchenAid KOSE500ESS
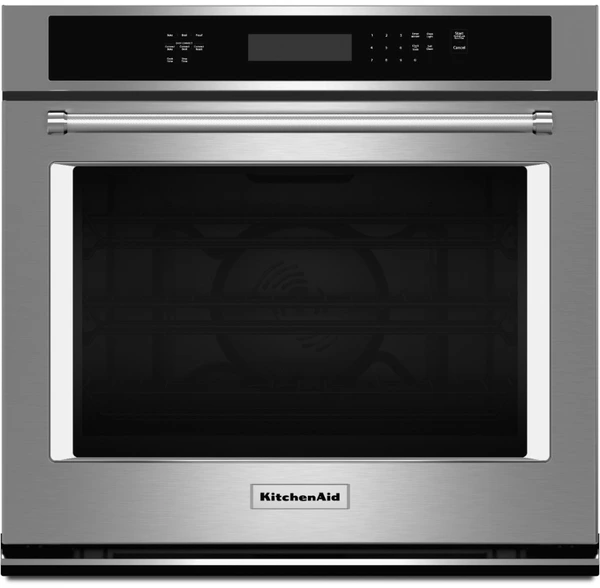
KitchenAid KOSE500ESS is a reliable 30-inch wall oven that delivers consistent baking and roasting results with its Even-Heat™ True Convection system. Its spacious interior, sleek stainless steel finish, and user-friendly features make it a great choice for everyday cooking as well as preparing larger family meals.
KitchenAid KODE500ESS
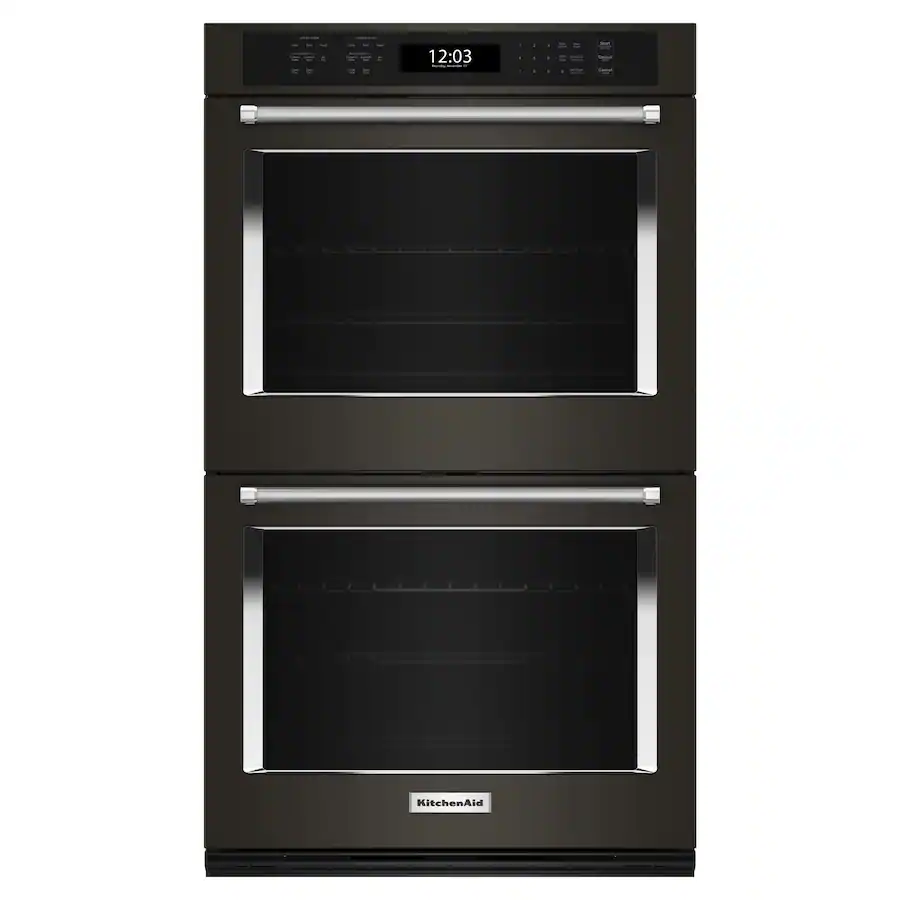
KitchenAid KODE500ESS is a premium double wall oven that offers two spacious cooking compartments, making it easy to prepare multiple dishes at the same time. Its Even-Heat™ True Convection system delivers consistent cooking results, while the sleek stainless steel design adds a modern touch to any kitchen. (kitchenaid.com)
KitchenAid KOEC530PSS
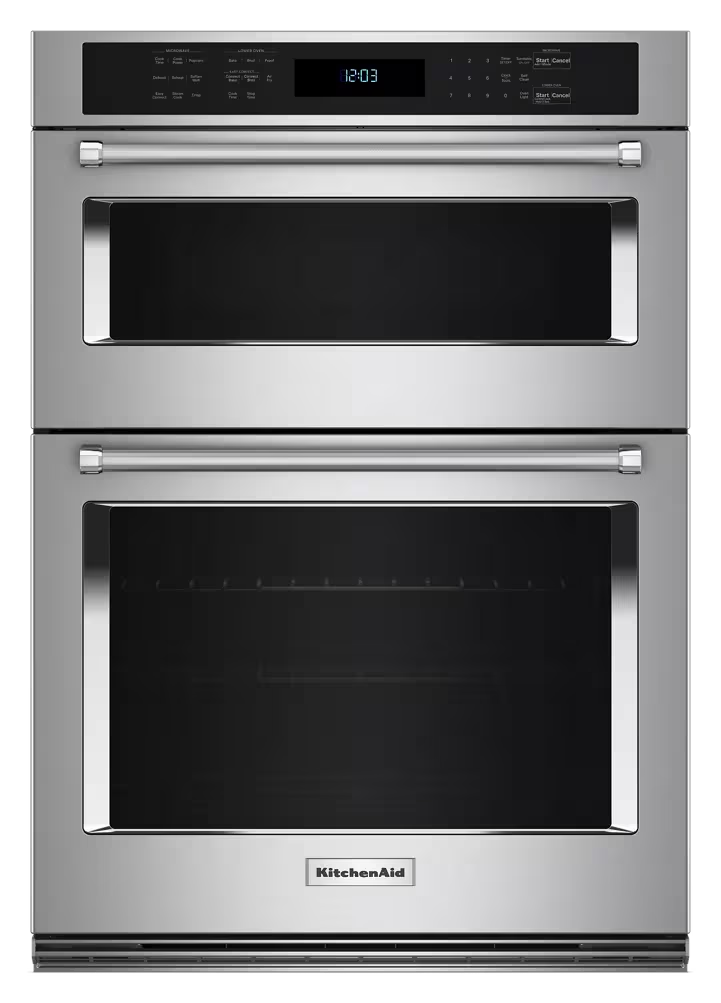
KitchenAid KOEC530PSS is a versatile wall oven and microwave combination that helps save space without compromising performance. The convection oven provides even cooking results, while the built-in microwave adds convenience for quick heating and everyday meals, making it a practical choice for modern kitchens.
KitchenAid KSGG700ESS
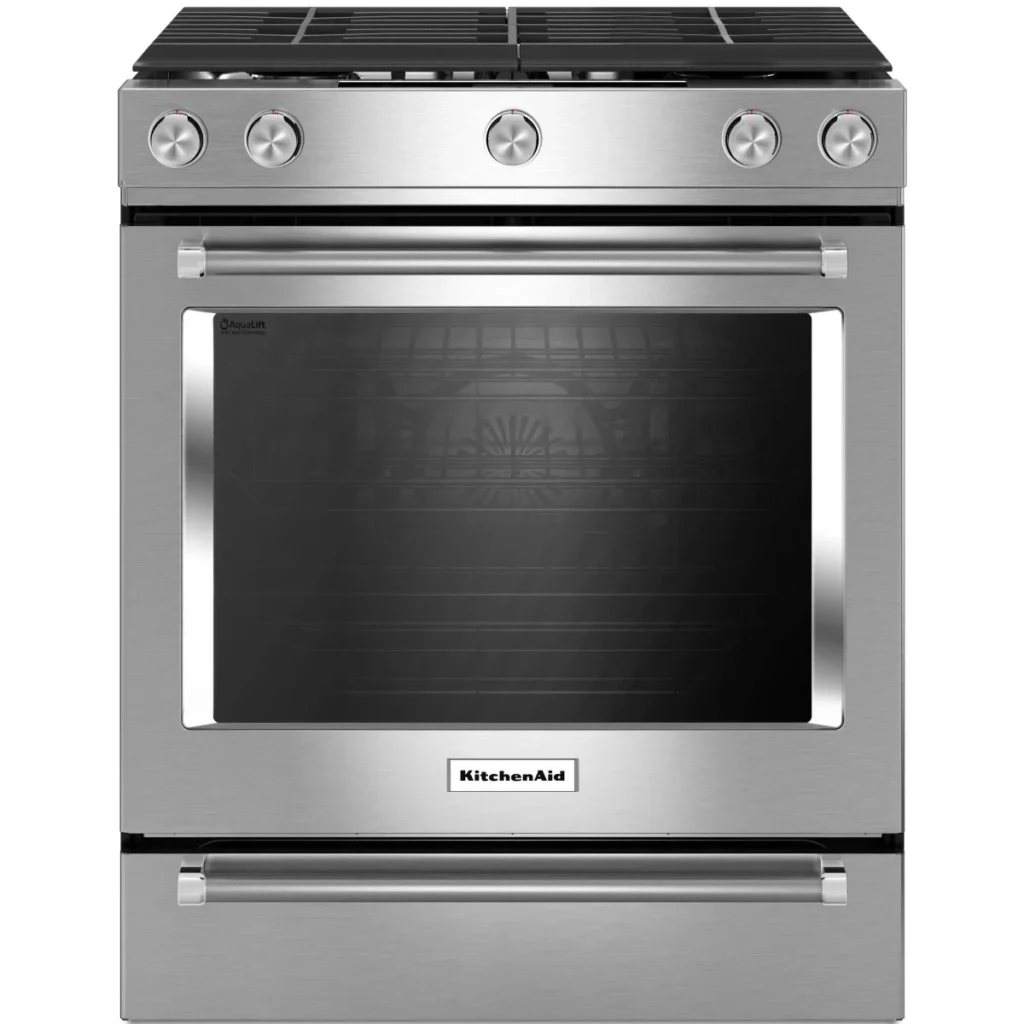
KitchenAid KSGG700ESS is a well-built slide-in gas range that combines powerful cooking performance with a sleek, modern design. Its spacious oven and Even-Heat™ True Convection system help deliver reliable baking and roasting results, making it a great choice for both everyday meals and special occasions.
Understanding KitchenAid Oven Error Codes
KitchenAid ovens are equipped with their Electronic Oven Control board that constantly monitors temperatures doors, locks on doors as well as heating circuits. If anything is found to be outside of standards, the KitchenAid Oven will stop the process, and shows an alpha warning message instead of being unable to function silently.
| Code | Likely Meaning | First Step |
| F1 / F1E0 / F1E1 | Control board communication or memory fault | Turn off the circuit breaker for 5–10 minutes, then restore power and test the oven. |
| F2 / F2E0 / F2E1 | Oven is overheating or keypad malfunction | If the oven is overheating, cut power immediately and do not continue using it. If it’s a keypad fault, inspect or reconnect the ribbon cable and replace the keypad if necessary. |
| F3 / F3E0 / F3E1 | Temperature sensor fault | Inspect the temperature sensor and test its resistance with a multimeter. Replace the sensor if it is out of specification. |
| F5E1 / F5E2 | Door latch failure (usually after a self-clean cycle) | Check the door latch assembly and wiring. Self-cleaning may be disabled until the issue is repaired. |
| F6E0 / F6E1 | Control board communication fault | Reset power. If the code returns, inspect wiring connections or replace the control board. |
| F9 / F9E0 | Door lock motor fault or incorrect supply voltage | Verify the home’s circuit voltage and inspect the door lock wiring and motor. |
A general rule to follow is Power-cycle first, then test. Switch off the breaker for 5-10 minutes, bring it back on to the system, then reset the clock and then run a brief bake cycle at 350 degrees F. If the code comes back within ten minutes, continue to check the particular component that the code identifies instead of resetting the clock once more.
The reason why so many codes are discovered immediately following a self-cleaning cycle is that standard self-cleaning runs can increase internal temperatures to as high as 800-900degF. This kind of heat strains the motor of the door latch and can cause damage to the insulation of the sensor wire and may cause cracks in connective joints in the board as time passes. If your model has the KitchenAid Oven Aqualift low-heat cleaning feature and you use it regularly, and not requiring a full high heat self-cleaning routine for occasional deep cleaning reduces the strain on these components.
Uneven Baking or Inaccurate Temperature
If the display is showing 350 degrees F and your food does notor overcooks, it’s likely that the problem is related to the calibration, and not a malfunctioning component. Place a KitchenAid Oven thermometer, which is independent, on top of the center rack. Allow the KitchenAid Oven to warm up and then compare the two readings fully. Most models permit users to alter calibration in small increments on the setting menu. Check your manual for more information; the exact sequence of buttons will differ based on what model you are using. If you are unable to fix it by recalibrating, you may need to look for a bake component that is failing gradually, rather than one that’s gone out completely.
Door, Light, and Display Problems
The reason a door won’t latch during self-clean is usually an issue with the switch or latch motor and is often damaged due to the high heating that self-cleaning generates. The KitchenAid Oven is typically perfect for normal baking; however, only the self-clean feature is impacted.
If the KitchenAid Oven light does not start, you must examine the bulb first. KitchenAid ovens require a bulb that is appliance-rated to withstand the heat of a cavity. Bulbs that are used in the home may fail rapidly or crack. If a replacement bulb does not aid it, the socket or wiring could be at fault.
A broken ribbon connector usually causes unresponsive touchpads or an unresponsive display on an interface for the device. Reconnecting that connector following the power cycle can solve a shocking majority of these issues without the need to replace the part.
DIY, Order a Part, or Call a Technician?
You are comfortable doing resets, power cycles, bulb replacements, visually inspecting and continuity testing, replacing loose connections, and calibrating thermostats.
It is worth ordering a replacement part after you’ve established the diagnosis: bake or broil element replacement, replacement of the temperature sensor, or door latch repair. These are jobs that require moderate skill levels and clearly documented procedures.
It is best to leave it to an experienced technician licensed to handle gas ignition system issues and repeated failures of the thermal fuse, or replacement of the control board for modern touchscreens, and any other task that has the smell of gas.
Common Replacement Parts Worth Knowing About
If your diagnosis indicates one particular component failing, KitchenAid ovens share many components across the Whirlpool range of brands, and parts are easily accessible from appliance parts stores on the internet. 5 of the most frequently required parts needed for DIY repairs are:
- Bake part (part code W10779716) is compatible with the majority of KitchenAid electric ranges. It’s the best solution to an KitchenAid Oven that doesn’t get hot or doesn’t heat evenly.
- The temperature sensor for KitchenAid Oven (part # W10131825) is the most frequently cited source of error codes F3 and inconsistency with heating.
- The oven’s thermal fuse (part # 9759242) is a replacement for the safety fuse, which often is blown after a self-cleaning cycle and leaves the KitchenAid Oven dead.
- Motor and switch for the door lock installation (part code W10883049). This fixes problems with door latches that prevent self-cleaning or leave the door stuck.
- Bake/broil igniter (part number 74007498) — a typical ignition bar replacement used in gasoline KitchenAid ovens that aren’t able to light or do not ignite even if they try.
Always verify compatibility with the exact model number of your KitchenAid Oven, which is printed on a sticker within the door frame or the rear panel, before you purchase — the same family of parts can have a variety of nearly identical variations across the model years.
Repair vs. Replace
In general, repairs cost less than about 40-45% of a newer model, and the KitchenAid Oven is less than around ten years old, then repairing it is generally the most economical option. Older ovens that experience frequent control-board malfunctions, or those that have required numerous large repairs, are typically more suitable for replacement instead of a new cycle of swapping parts.
Another thing to consider prior to starting to repair your oven: if KitchenAid Oven manufacturer warranty still covers it, having an authorized service provider will protect that warranty; however, an unapproved repair may void the warranty.
Preventing the Next Breakdown
Clean up spills fast to cut down on the frequency of and how often you’ll have to do your self-clean.
Check the gasket on the door annually to check for any holes that let heat escape, which causes the KitchenAid Oven to run more effectively.
Verify that the KitchenAid Oven lights and vents aren’t blocked.
- Get gas models checked by a professional every two years for burner and igniter conditions.
Recalibrate the temperature if you find baking results sliding off.
Keep your purchase and model numbers in the file. It quickly processes both part orders, as well as warranty claims.
Frequently Asked Questions
What’s wrong regarding my KitchenAid oven It keeps making a ring, but it’s giving the error code?
The control board is detecting an unusual reading from the door lock sensor or the heating circuit. First, power-cycle the circuit; if the code is returned quickly, check the component that the code is referencing.
Can I fix a KitchenAid oven error code myself?
Many of the codes — problems with communication between the control board and keypad issues, as well as wiring problems are fixable through a power cycle reset or resetting a connection. Gas ignition problems and the replacement of control boards are more challenging DIY tasks.
Why isn’t my oven heating despite the fact that the light is on?
The light circuit is independent of the heating circuit. Therefore, an element that fails, a sensor, or a control board may cause heat loss, and everything else will function normally.
What is the average cost to fix the KitchenAid oven?
Prices vary widely — between $20 and $100 for a DIY component such as a thermal fuse or sensor, and as high as $300-$600 or more for a control board replacement, with a professional installation.
Why does my oven display an error message when I run self-clean?
Self-cleaning cycles raise internal temperatures to over 800 degrees Fahrenheit at regular settings, which stress the motor for the door latch sensors, wiring for the door latch, and control board, the main source of post-clean fault codes.
Is it worth fixing an old KitchenAid oven or should I buy a new one? it?
If the repair price is below 40-45 percent of the new oven’s cost and the appliance is not more than 10 years old, then repair is often the best option financially. Control-board malfunctions that are frequent in older units tend to tip the scales towards replacement.
Why isn’t my oven’s door able to be locked for the self-cleaning cycle?
It’s almost always an issue with the door latch motor or switch, usually broken down by repeated exposure to self-cleaning temperatures. Normal baking is generally unaffected.
Do I require a licensed technician for repairs to my gas stove?
When it comes to replacing the igniter, most of the time not; it’s a DIY project that can be accomplished. If you have any issues with an ignition module or gas valve, or even a smell of gas, it is a must that the work be left to an authorized technician.
Conclusion
The majority of KitchenAid oven issues are related to four components, which include the temperature sensor, the bake element, also known as the igniter, as well as the door latch and the controller board. Begin by performing a complete power-cycle reset, observe if the fault code comes back or not, then test the specific component prior to spending money on an upgrade. Simple fixes such as the bulbs, loose connectors, and calibration are accessible to the majority of people. In contrast, gas ignition systems and control board malfunctions are where a certified technician earns their pay. Compare your symptoms to the above diagnosis, and in most instances, you’ll know the next step instead of playing a guessing game.
These information are gathered from different surveys, medical tests and tech giants like Techradar and more. Our top priority is to provide you valuable information.
For More Details About Different Projectors Click Here