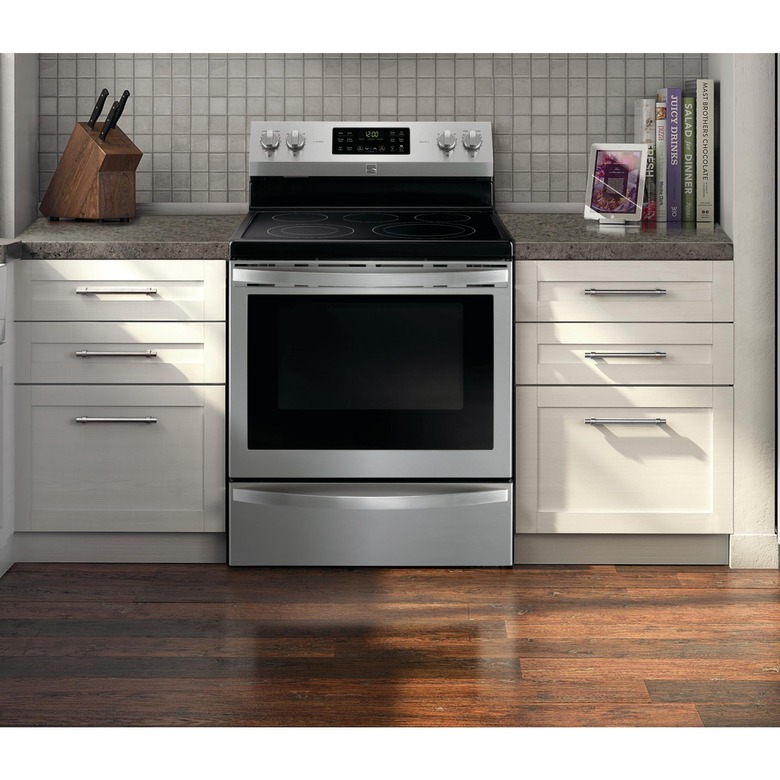
The Kenmore oven that stops heating suddenly, turns off, or displays a bizarre error message is one of the issues that seem to strike just before dinner time. The good news is that the majority of Kenmore oven malfunctions are due to a handful of obvious causes, and a significant portion are solved at home in less than an hour, using just a few tools.
Before you get into parts numbers and readings from multimeters, it is helpful to know what repair guides typically do not cover: Kenmore Oven isn’t a single manufacturer. Depending on the age and series of your range, your Kenmore Oven was actually built by Whirlpool, Frigidaire/Electrolux, or LG under the Kenmore name.
It is important to note that the wiring layout and error code system, or even the precise parts that you require, will vary based on the company that built the appliance. The first step in the repair process is to determine your model’smodel number, usually printed inside the Kenmore Oven door frame or on a sticker on the back panel, to ensure that you will be able to match the repair to the correct model.
Start With a Quick Diagnosis
The most common symptoms are a result of one of a few elements:
| Symptom | Likely Cause | DIY Difficulty |
| Oven isn’t turning on at all | Tripped circuit breaker, blown thermal fuse, or faulty control board | Easy–Medium |
| Gas oven isn’t heating | Weak or faulty igniter | Easy–Medium |
| Electric oven isn’t heating | Burned-out bake or broil element | Easy–Medium |
| Oven temperature is too hot or too cold | Faulty temperature sensor or incorrect calibration | Easy–Medium |
| Error code appears on the display | Faulty temperature sensor, control board, or door switch | Varies |
| Self-clean door won’t unlock | Faulty door lock motor or door lock switch | Medium |
| Oven light isn’t turning on | Burned-out light bulb or faulty light socket | Easy |
Kenmore Oven Won’t Turn On
If you don’t get any response when you try to turn on the Kenmore Oven, you should first check the power supply prior to assuming that it is the most likely cause. First, check the breaker panel. To determine if it is aEUR” an untripped 240V circuit is more often the cause than most people think. If your circuit appears to be working, check that the outlet is operating.
The other is the thermal fuse it is a security device that turns off the power for a certain amount of time should the Kenmore Oven gets too hot. It’s typically located in the back of the panel as well as behind the panel for control. It is tested using a multimeter. Unplug the Kenmore Oven, remove one of the leads to the fuse, then look for continuity. If there is no continuity, it’s blowing and must be replaced- an easy, affordable solution.
If the power is tested and the fuse test is good, the issue is likely to be with the control board. The board diagnosis is the point at which DIY repair is more dangerous, as a negative reading could be a result of various failure sources. If you’re not comfortable working with electronic components in your appliance, it’s a good reason to call in an expert.
Kenmore Oven Not Heating
This is the most frequent oven problem. The solution depends extensively on the fuel type.
Gas ovens always refer to the igniter. A healthy igniter shines, is sufficiently hot to allow gas flow, and then ignites the flame in just a few moments. An unreliable igniter will glow dimly for much longer than normal, and clicks on and off without ever producing an igniter. If it’s performing any of these, then the igniter is probably becoming deficient and will require replacement.
Electric ovens are more likely to indicate the bake element that is burned out (bottom in the oven space) as well as a broil component (top). Examine both elements for signs of a blistered area, an obvious split, or a portion that appears burned; a clear indication.
Removing the bake element of an electric oven is among the easiest appliance repairs you can make:
- Unplug the range, or turn off the breakers.
- Take off the screws for mounting at the rear of the baking cavity.
- Then pull the element to the left and remove those wire connections.
- Connect the new component to the existing terminals.
- Install the mounting screws, then restore the power.
- Test bake a brief cycle and check for a steady, even temperature.
The entire process usually will take 20aEUR- 30 minutes.
Replacement of the gas igniter takes greater care because it is a gas supply line.
- Switch off your gas source, and then unplug the range.
- Take off the oven’s bottom panel so that you can expose the igniter in that tube for the burner.
- Attach the harness of the wire to screws for mounting.
- Install a new ignition that is compatible with your initial amperage rating in AEUR. This is more important than most people realize, as an incorrectly calibrated igniter could cause repetition of failures.
- Reassemble, reconnect the power and gas, and examine.
If you detect gas during the procedure, immediately turn off your gas valve, aerate the area, then call your gas provider or certified technician. This is a repair that requires a lot of caution.
Oven Temperature Isn’t Accurate
If your Kenmore Oven appears to be running hot or cold or is operating inconsistently, the first step isn’t to change a part, but to determine the cause by using an Kenmore Oven thermometer independent of the unit during 3 or 2 bake cycles. If the temperature seems to be consistently off by a certain amount, the majority of Kenmore control panels will allow an individual calibration offset to be set within the setting menu.
In the event that readings vary frequently instead of being stable it is likely that the temperature sensor (a tiny probe located on the back wall in one of the Kenmore Ovens) is likely to be the cause. The test can be conducted it using the multimeter. It will be between 1,100 and 1,000 Ohms at ambient temperatures but the exact specifications vary depending on the model. Any reading that isn’t within this range means that the sensor needs replacement.
Understanding Error Codes
Kenmore’s error codes don’t apply to all models and aren’t universal; they are based on the OEM platform used to build your particular oven, which means the same code may refer to different things in different models. But, some basic patterns apply to all Kenmore Oven models:
| Code | General Meaning | Typical Fix |
| F1 / F1-E1 | Touchpad or control board fault | Power cycle the oven. If the error returns, replace the control board. |
| F2 | Oven overheating or temperature sensor fault | Allow the oven to cool, then check the temperature sensor and wiring. Replace the sensor if necessary. |
| F3 | Temperature sensor open or shorted | Inspect the sensor wiring and replace the temperature sensor if it is faulty. |
| F5 | Door lock or door switch problem | Inspect the door switch, door latch, and lock motor. Replace any defective components. |
| F7 | Stuck or faulty touchpad | Clean the touchpad thoroughly. If the error persists, replace the touchpad or control panel. |
- F9: Door will not latch. Replace your door’s lock
Power disruption took place in the middle of the cycle. A reset of the clock
Door not closed completely or latch is broken. Check alignment of the door and switch
Always confirm the exact code with your model number instead of using a generic list of aEUR” This is the most common cause of parts that are not used.
Self-Clean Door Won’t Unlock
It’s important to mention as a separate safety mechanism and not a glitch that you can escape. If the door remains locked following a self-clean cycle, allow the Kenmore Oven to cool completely for a while before closing it. This can take up to three hours based on the type of Kenmore Oven. If it doesn’t unlock once it is cool, the switch and motor assembly is likely to fail and requires replacement. Don’t force the door open or shut off the lock switch by hand; it is designed to avoid burns in an 800AdegF+ cycle.
DIY or Call a Professional?
An easy method to consider is:
Lean DIY if it’s an element for baking or broiling, a lighting bulb or sensor you’ve verified with an instrument, and the oven is powered by electricity and has the warranty having expired.
Clean with a professionalwhen the job requires a gas pipeline control board or security system for doors or if your oven is still covered by the manufacturer, and repairs made by DIY could result in the warranty being voided. be canceled.
What Repairs Typically Cost
Costs differ by location and whether you manage repairs yourself; however, general market trends are as follows (Source: Industry repair cost averages, 2024aEUR “2025):
| Repair | DIY Part Only | Professional (Parts + Labor) |
|---|---|---|
| Bake/Broil Element | $20–$50 | $150–$250 |
| Igniter | $20–$60 | $150–$300 |
| Temperature Sensor | $15–$40 | $120–$220 |
| Control Board | $80–$250 | $250–$450 |
| Thermal Fuse | $30–$80 | $180–$300 |
As a general rule, when the repair cost is close to half the cost of a newer oven, or the appliance is greater than 12- 15 years old, replacing it generally makes more sense financially than a repair.
Finding Help Locally
If you decide to bring in a professional, it’s worth knowing there are a few different provider types: independent appliance repair companies, big-box retailer repair services, and manufacturer-authorized service centers. Authorized centers are usually preferred when the Kenmore Oven is under warranty, while independent technicians are typically faster and less expensive even if the Kenmore Oven is not. Before you book, inquire if there is a diagnostic charge and whether it’s applied to fixing the issue, and if they carry regular parts in their trucks or need to order them at a cost of EUR. This last point could mean the distinction between a repair on the same day or a long wait.
A Few Habits That Prevent Repeat Repairs
- Clean the gasket of your door each month to ensure it is maintaining an appropriate heat seal.
Be sure your oven’s level. an Kenmore Oven that isn’t properly level can result in uneven baking, which puts stress on the wrong parts.
Avoid running self-clean cycles too long as the intense heating cycle wears down components and igniters faster.
Check the accuracy of your temperature with an accurate thermometer every six to twelve months instead of looking for obvious signs.
Avoid hitting an oven’s doors. it’s an easy way to do however it could strain the door switch over years of use.
4 Best Kenmore Oven Models Worth Buying in 2026
Kenmore 22-96843 5.6 Cu. Ft. Front-Control Electric Range
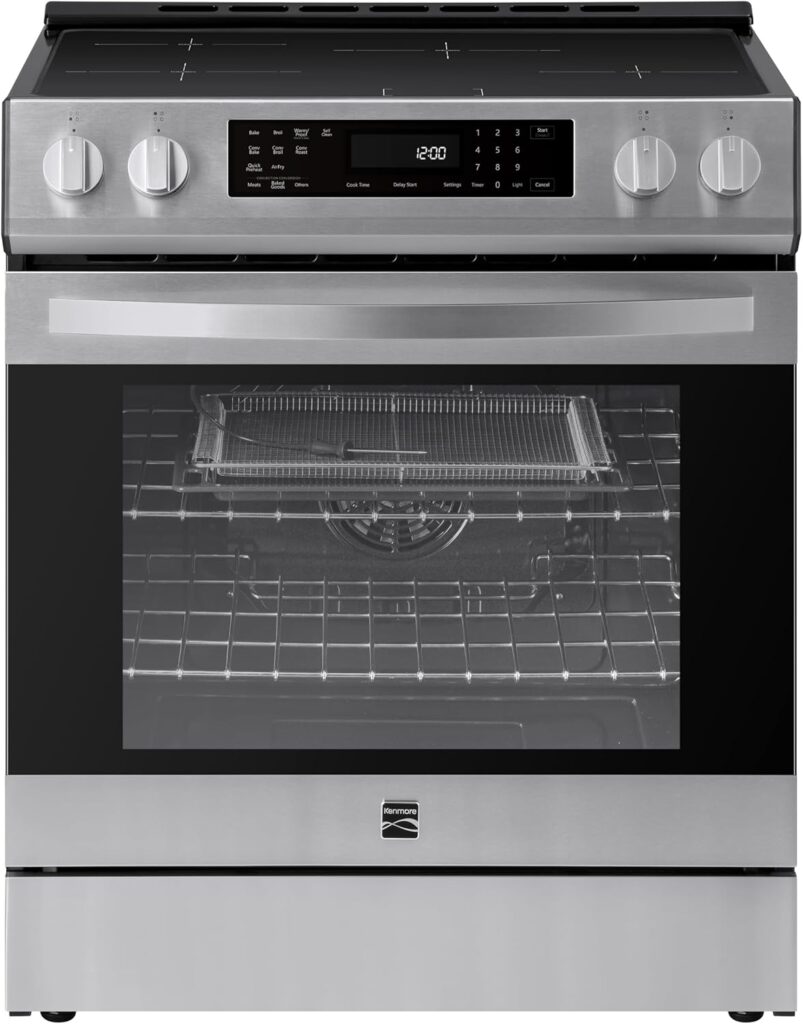
The Kenmore 22-96843 is one of the brand’s most feature-packed electric ranges. It combines True Convection, Air Fry, and a Self-Clean oven to deliver fast, even cooking with minimal maintenance. Five radiant cooking elements, including dual-ring burners, provide excellent flexibility for everything from simmering sauces to boiling large pots. It’s an excellent choice for families who want premium performance without paying luxury-brand prices.
Kenmore 22-96833 5.6 Cu. Ft. Front-Control Electric Range
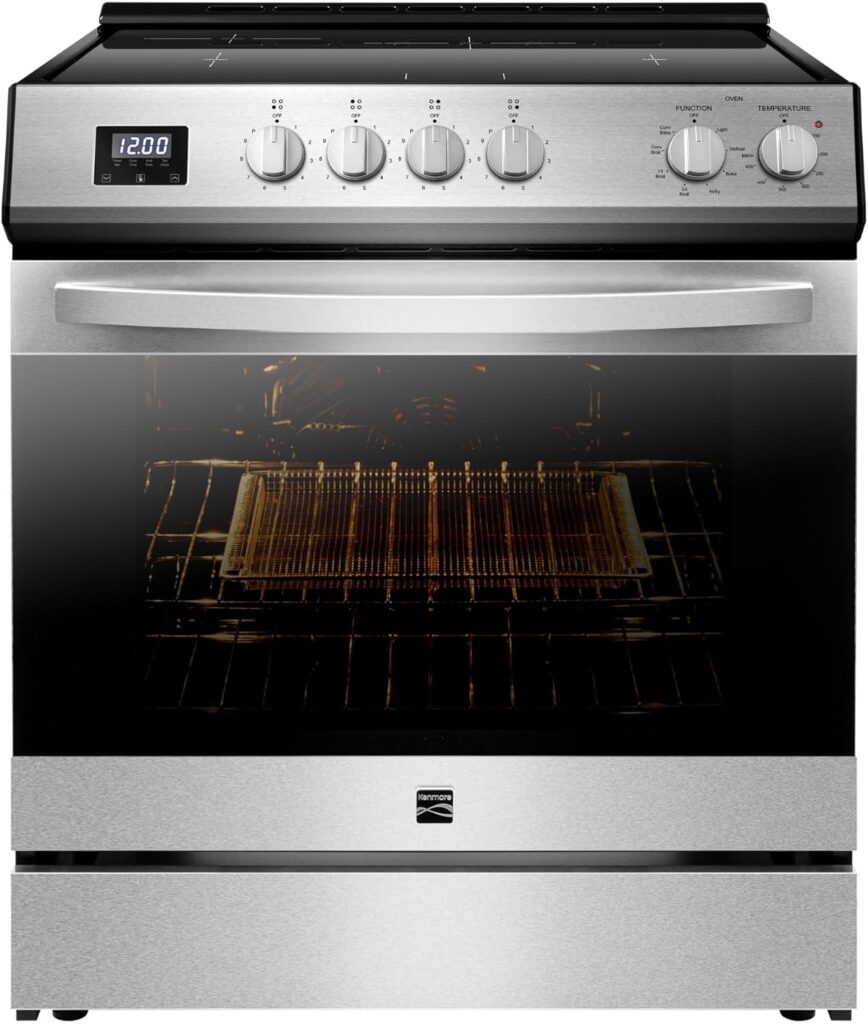
The Kenmore 22-96833 offers a spacious 5.6 cu. ft. oven with True Convection for consistent baking and roasting. Its Steam Clean function makes light cleanups quick and easy, while the front-control design gives the kitchen a modern built-in appearance. This model is ideal for home cooks looking for reliable everyday performance and excellent value.
Kenmore 22-95163 4.8 Cu. Ft. Front-Control Electric Range
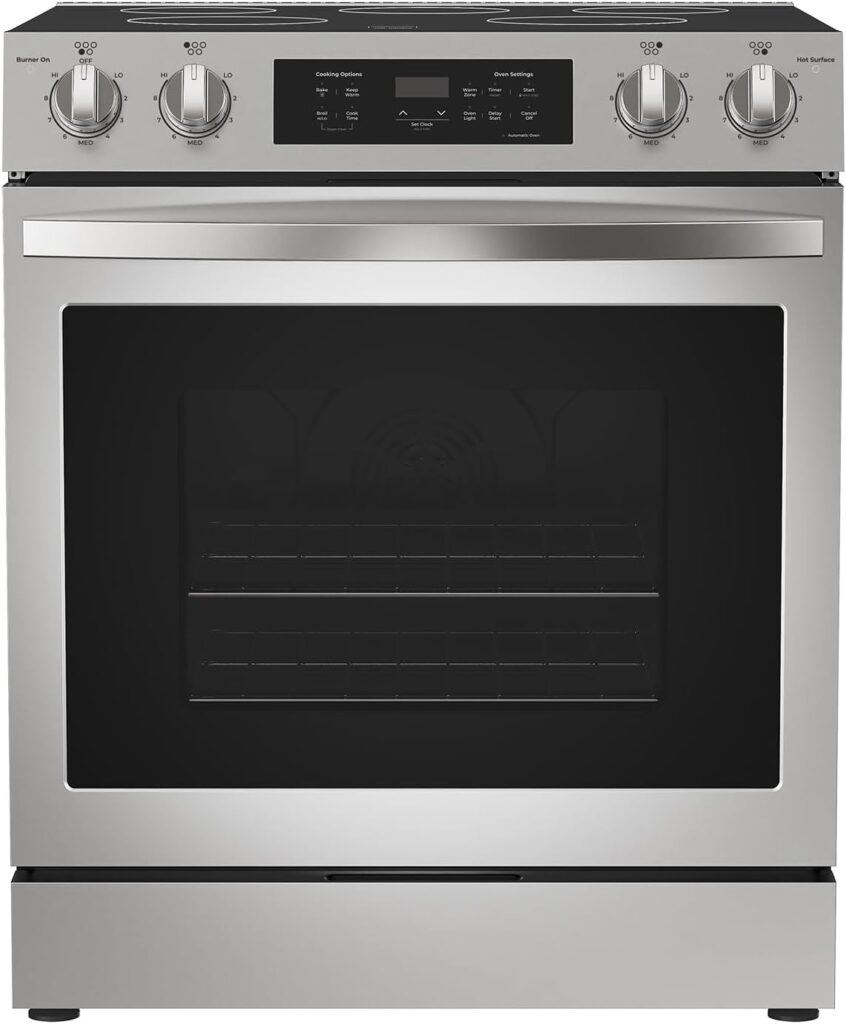
The Kenmore 22-95163 is designed for cooks who want modern features in a compact package. It includes True Convection, Air Fry, dual Turbo Boil® elements, and both Steam Clean and Self-Clean functions. Its intuitive Precision Set controls and fingerprint-resistant finish make it a practical option for busy households.
Kenmore 22-96853 5.6 Cu. Ft. Front-Control Induction Range
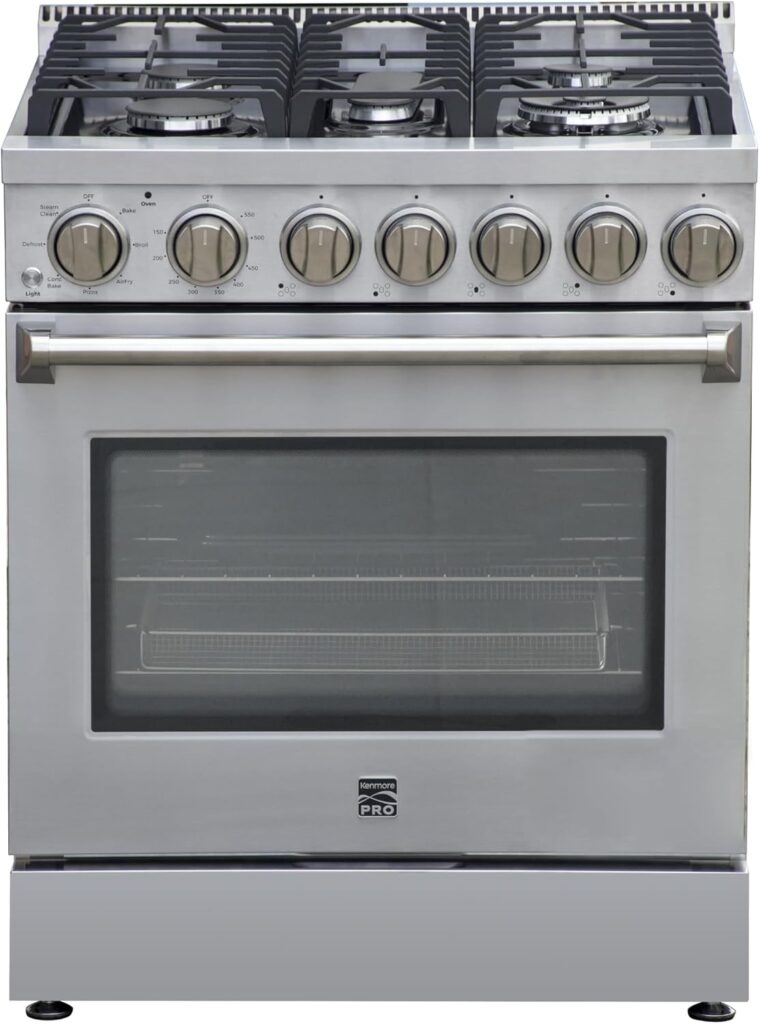
The Kenmore 22-96853 is the flagship model in the lineup, featuring an induction cooktop for faster heating, greater energy efficiency, and precise temperature control. It also includes True Convection, Air Fry, a temperature probe, and a Self-Clean oven, making it an outstanding choice for serious home chefs who want premium cooking performance and advanced technology.
Frequently Asked Questions
What’s the cause of that the Kenmore stove is heating but not working?
It’s usually a burned-out bake or broil component in electric models or a weak igniter for gas models. In some instances it could be due to an problem with the controller or thermostat.
What can you do to alter the settings on Your Kenmore oven?
Unplug the range, then wait for 60 seconds or switch off the breaker, and then turn off the electricity. This will eliminate most issues and minor errors on the control board.
What does the F3 stand for on a Kenmore oven?
F3 typically indicates a fault in the temperature sensor circuit that is either open or shorted and is typically fixed by reinstalling the probe.
What is the cost to repair the Kenmore oven?
DIY repairs usually cost $15aEUR- $250 in the case of parts. Professional repairs that include labor are typically priced between $120 and $450 based on the component that is involved.
Is it worth fixing the older Kenmore oven?
If the repair costs are less than half that of a comparable new oven and it is not more than 12- 15 years old, then repairing it is generally the best cost.
Can I replace the Kenmore oven igniter on my own?
Suppose you’re confident with switching off gas and electricity. It’s a moderately difficult repair; however, stop right away and contact a professional if you notice gas at any time.
Why is the temperature of my Kenmore oven incorrect?
It’s usually an indication of fluctuations in temperature or that the control board may be required to be calibrated. The first step is to check the issue with an oven thermometer that comes from a different source prior to replacing the part.
Where do you find out the model number that corresponds to Kenmore oven’s model code?
Examine the frame of the oven door or around the opening for the cavity or on a sticker located on the back panel. This number will determine the parts catalog from which manufacturer is applicable to your appliance.
Why isn’t the door of my Kenmore Oven able to open when it is self-cleaning?
The Kenmore Oven may be far too warm for the lock’s safety to be released. Allow it to cool down, up to a few hours, before you assume that the lock’s assembly is failing.
Conclusion
The majority of Kenmore oven issues are traced back to one or a few parts, such as a power failure, failure of the igniter or heating element, a sensor that is drifting, or a fault on the control board. Start with the least expensive and most secure checks, first checking a breaker, outlet, and a visual inspection of the element or igniter before taking a multimeter out or requesting parts.
Make sure that the part you are replacing matches your specific model number, as Kenmore is a variety of manufacturers behind the scenes. If a repair involves gas lines as well as the control board or the self-cleaning doors lock, it’s well worth investing in a skilled technician instead of attempting to guess your way through an extremely safe system.
These information are gathered from different surveys, medical tests and tech giants like Techradar and more. Our top priority is to provide you valuable information.
For More Details About Different Projectors Click Here